tutorial
Ultrasonic Sensor Interfacing with Arduino
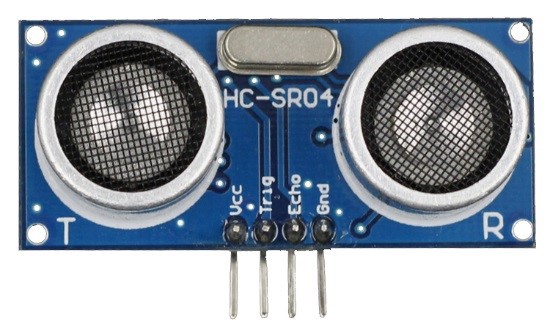
The HC-SR04 ultrasonic sensor uses SONAR to determine the distance of an object just like the bats do. It offers excellent non-contact range detection with high accuracy and stable readings in an easy-to-use package from 2 cm to 400 cm or 1” to 13 feet. The operation is not affected by sunlight or black material, although acoustically, soft materials like cloth can be difficult to detect. It comes complete with ultrasonic transmitter and receiver module.

Features of Ultrasonic Sensor:
1. Supply voltage: 5V (DC).
2. Supply current: 15mA.
3. Modulation frequency: 40Hz.
4. Output: 0 – 5V (Output high when obstacle detected in range).
5. Beam Angle: Max 15 degree.
6. Distance: 2cm – 400cm.
7. Accuracy: 0.3cm.
8. Communication: Positive TTL pulse.
Components Used:
1. Arduino Uno
2. Ultrasonic Sensor Module
3. Connecting wires
Working Principle:
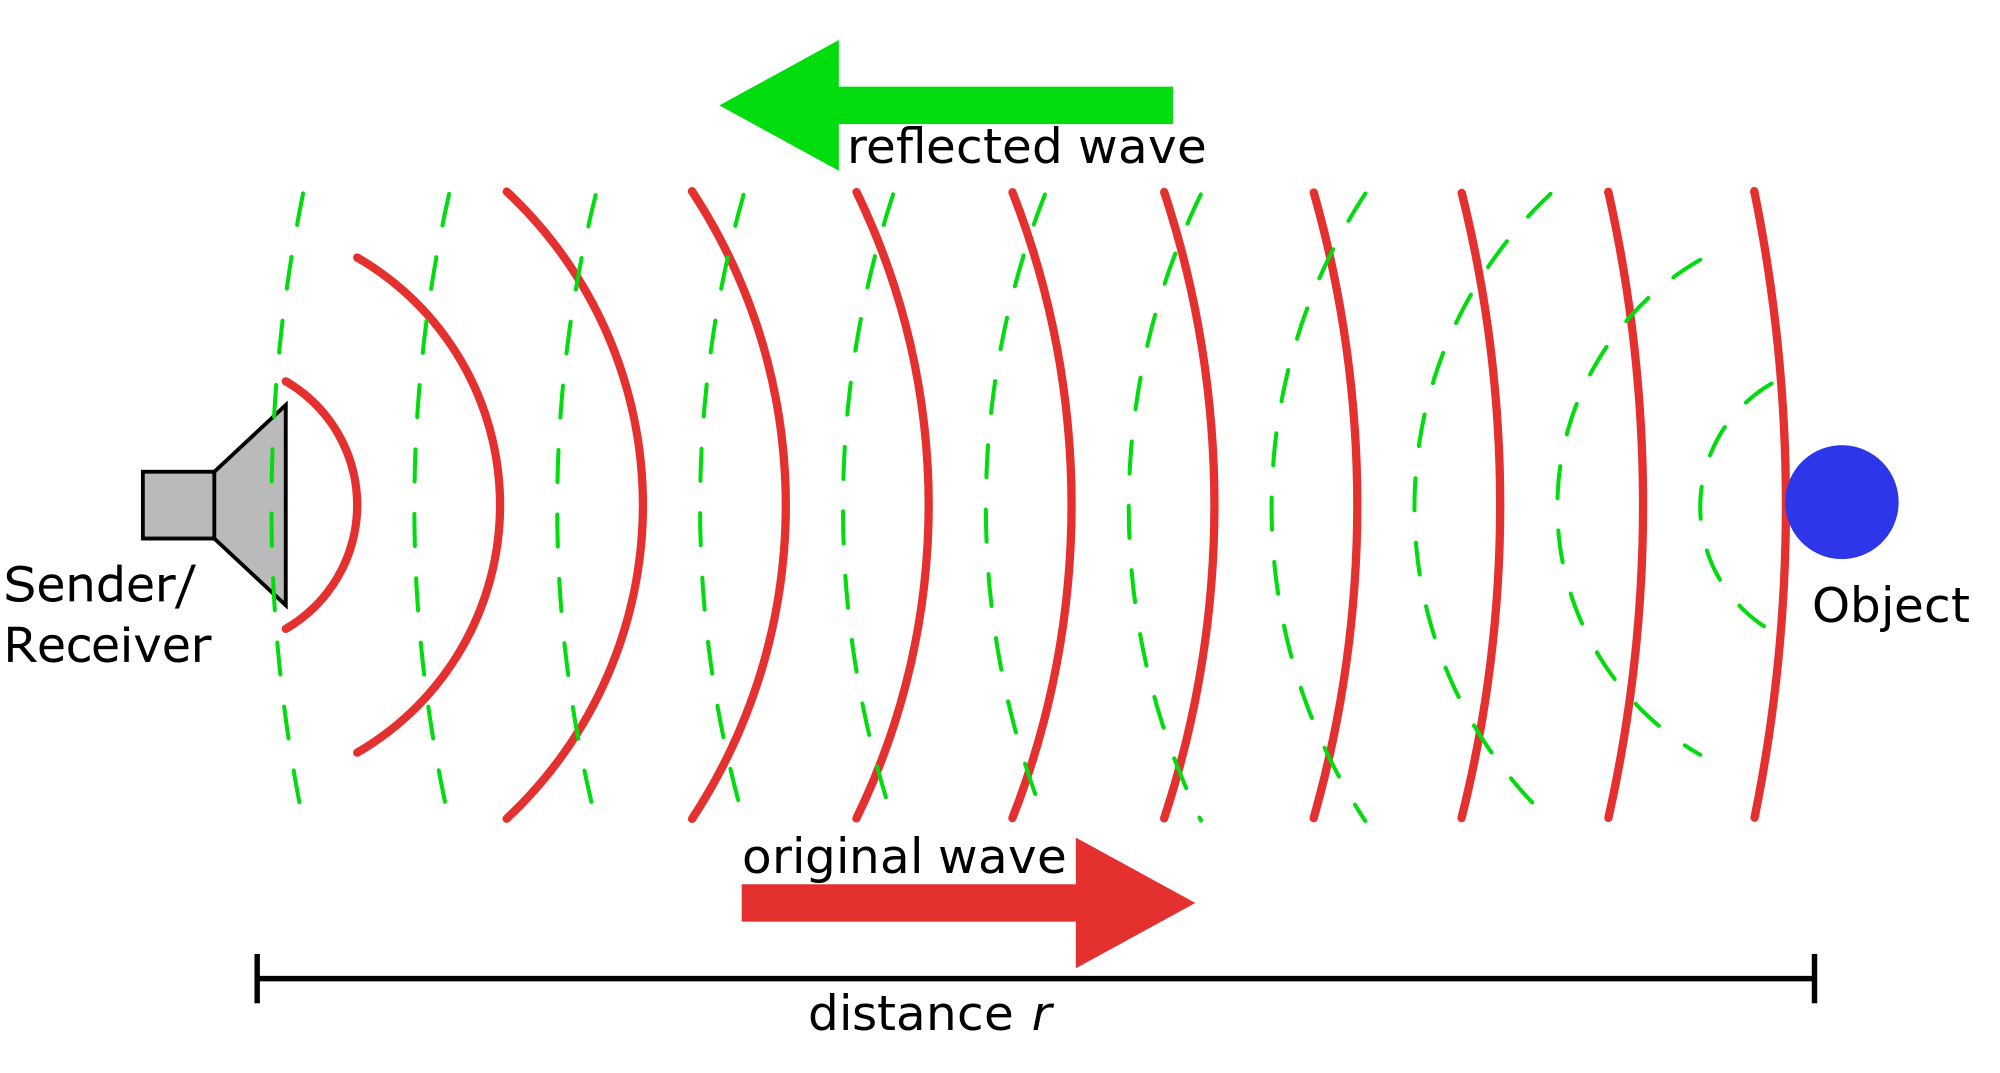
When an electrical pulse of high voltage is applied to the ultrasonic transducer it vibrates across a specific spectrum of frequencies and generates a burst of sound waves. Whenever any obstacle comes ahead of the ultrasonic sensor the sound waves will reflect back in the form of echo and generates an electric pulse. It calculates the time taken between sending sound waves and receiving the echo. The echo patterns will be compared with the patterns of sound waves to determine the detected signal’s condition.

Connection Diagram:

CODE:
int trigPin = 10; // Trigger
int echoPin = 11; // Echo
long duration, cm, inches;
void setup() {
//Serial Port begin
Serial.begin (9600);
//Define inputs and outputs
pinMode(trigPin, OUTPUT);
pinMode(echoPin, INPUT);
}
void loop() {
// The sensor is triggered by a HIGH pulse of 10 or more microseconds.
// Give a short LOW pulse beforehand to ensure a clean HIGH pulse:
digitalWrite(trigPin, LOW);
delayMicroseconds(5);
digitalWrite(trigPin, HIGH);
delayMicroseconds(10);
digitalWrite(trigPin, LOW);
// Read the signal from the sensor: a HIGH pulse whose
// duration is the time (in microseconds) from the sending
// of the ping to the reception of its echo off of an object.
duration = pulseIn(echoPin, HIGH);
// Convert the time into a distance
cm = (duration/2) / 29.1; // Divide by 29.1 or multiply by 0.0343
inches = (duration/2) / 74; // Divide by 74 or multiply by 0.0135
Serial.print(inches);
Serial.print("in, ");
Serial.print(cm);
Serial.print("cm");
Serial.println();
delay(250);
}
Output:
Note:
In the loop(), we trigger the sensor by sendind a HIGH pulse of 10 microseconds. But, before that, we give a short LOW pulse to ensure we’ll get a clean HIGH pulse:
digitalWrite(trigPin, LOW);
delayMicroseconds(5);
digitalWrite(trigPin, HIGH);
delayMicroseconds(10);
digitalWrite(trigPin, LOW);
Reference:
·
· digitalWrite(): Write a HIGH or a LOW value to a digital pin. If the pin has been configured as an OUTPUT with pinMode(), its voltage will be set to the corresponding value: 5V (or 3.3V on 3.3V boards) for HIGH, 0V (ground) for LOW.
· pinMode(): Configures the specified pin to behave either as an input or an output.
· delay(): Pauses the program for the amount of time (in milliseconds) specified as a parameter. (There are 1000 milliseconds in a second.)
· pulseIn() : Reads a pulse (either HIGH or LOW) on a pin. For example, if the value is HIGH, pulseIn() waits for the pin to go from LOWto HIGH, starts timing, then waits for the pin to go LOW and stops timing. Returns the length of the pulse in microseconds or gives up and returns 0 if no complete pulse was received within the timeout.
· delayMicroseconds(): Pauses the program for the amount of time (in microseconds) specified as a parameter. There are a thousand microseconds in a millisecond and a million microseconds in a second.


No comments:
Post a Comment